Flash-Sync
Last Saturday, I visited Kenmore Camera, a relatively large camera store on the north tip of Lake Washington. After lusting over Pentax gear, I hunted for more ways to sync my flash to my camera. After talking to Tom, an employee, about what I was looking for (a cheap, simple flash-sync solution), I ended up purchasing a slave hotshoe.
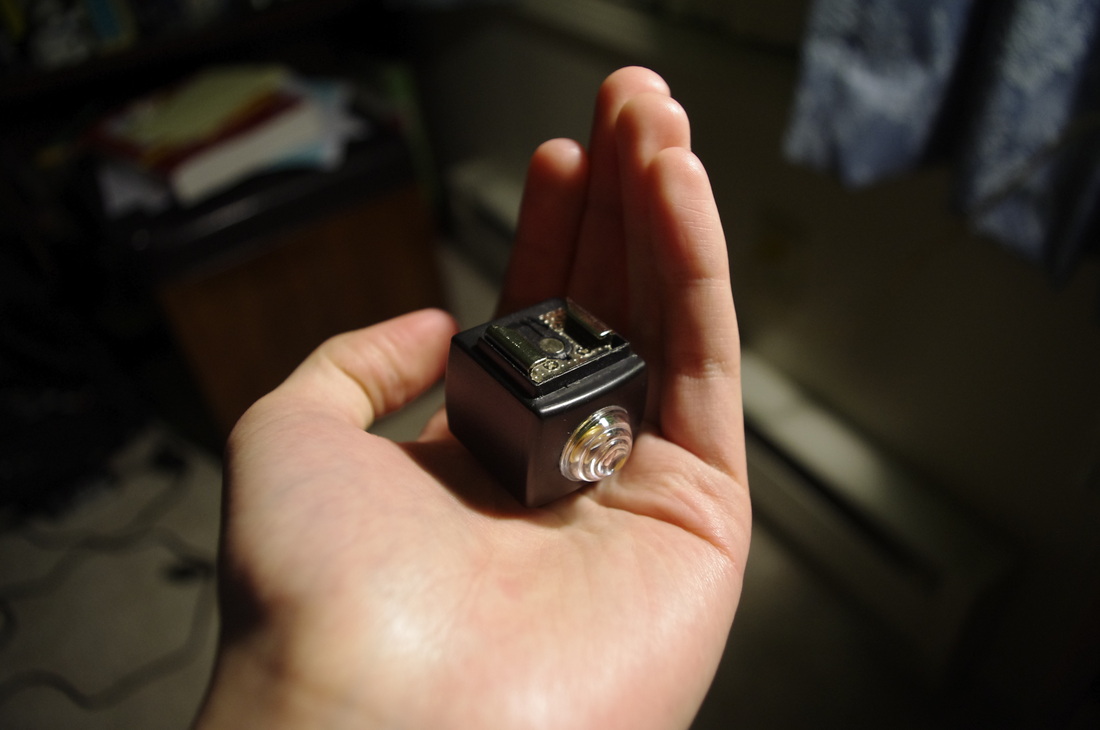
This piece has an optical sensor that detects when the camera's popup flash goes off, thus firing the off-camera flash it's attached to. According to Tom, this is the cheapest way to go (the piece was $18.95). It also has a 1/4" screw hole, which means I can mount my flash to my spare tripod instead of having to get a flash stand.
Unfortunately, I didn't remember until I walked out of the store that my flash already has a built-in optical sensor. However, I decided to keep it for now. I'll probably go back next week and exchange the piece for a coldshoe without the optical sensor, so I can still have tripod compatibility.
Total time at the store: 60 min
Balancing Flash and Ambient, Pt 2
Last time I read the Strobist blog, Hobby talked about the basics of adding flash to a scene by using the flash as a main light and the ambient (existing) light as a fill. Now he adds onto that by going into fill flash.
Fill flash is when you use flash to augment the main ambient light. Many times, people use fill flash on-camera (the most common example of this is the popup flash). While this does bring up the shadow, it takes away the depth of a subject. However, playing with angles can improve the quality of this light.
These are the steps he gives:
1. Sun=main light, strobe=secondary light.
This way of thinking gives you flexibility in how you want to play with the scene.
2. Angle of attack.
You want to base the exposure off of the ambient light. The goal of fill flash is to decrease shadows, so you have to have the secondary light in a countering direction of the main light (sun).
I'm actually surprised that this is all the info he gives on this. It seems that for the most part, using flash is a trial-and-error process. It makes sense that there is no one size fits all setup, but I couldn't help but think there would be more technical info for using flash.
Accessories
In addition to the essential things needed for a flash kit, you can use modifiers to change the flash's light.
For example, gels are colored attachments you put on the flash head to change the tint of the flash's light. These are used to match the white balance of the flash with the ambient light. I'm not to worried about these, though, since I can always adjust color errors in post-processing (editing).
To increase the directionality of the flash, you can attach a flag (which can just be a piece of cardboard) to the head to act as a barn door and prevent light from hitting certain things. For example, you can use a flag to prevent light from shining on a background when the flash is perpendicular to the subject and camera, or use it to prevent lens flare when the flash is behind the subject/facing towards the camera.
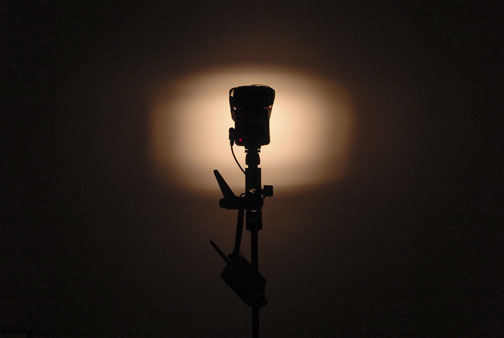 A flash using a snoot. Photo by David Hobby
 "Snoots" are similar devices, but even more restrictive. These are tunnels that prevent the light from going anywhere except exactly where you want it. Snoots are useful for lighting only certain elements in a photo, such as a face.
My takeaway from today is a reaffirmation that flash photography is simpler than I thought. For example, I'm actually surprised that he gave only two guidelines for fill flash. It seems that for the most part, using flash is a trial-and-error process. It makes sense that there is no one size fits all setup, but I couldn't help but think there would be more technical info for using flash. Also, the fact that you can use simple things like a bottomless cup for a snoot shows how quick-and-dirty yet effective you can be when doing flash photography.
Total time today: 60 min
Total time today: 60 min
 RSS Feed